
Custom home · Dripping Springs

Dripping Springs Custom Home

Tell us what you are thinking →
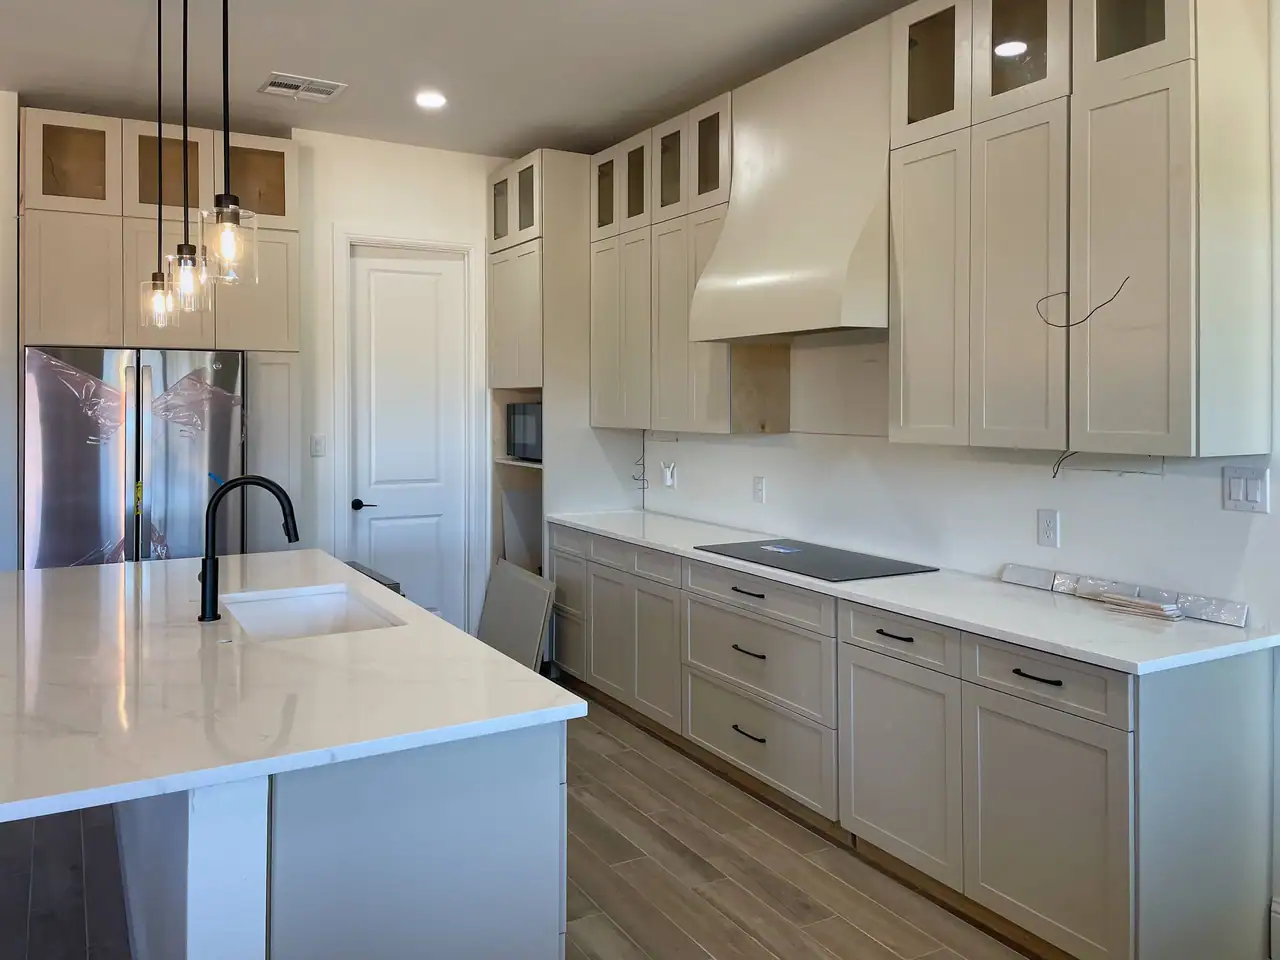
Finished kitchen with white cabinets, a large island, and pendant lights in a new Dripping Springs custom home

Project overview

A new custom home in Dripping Springs

Ridge Rock built this home new, from the slab through framing, dry-in, and finishes.

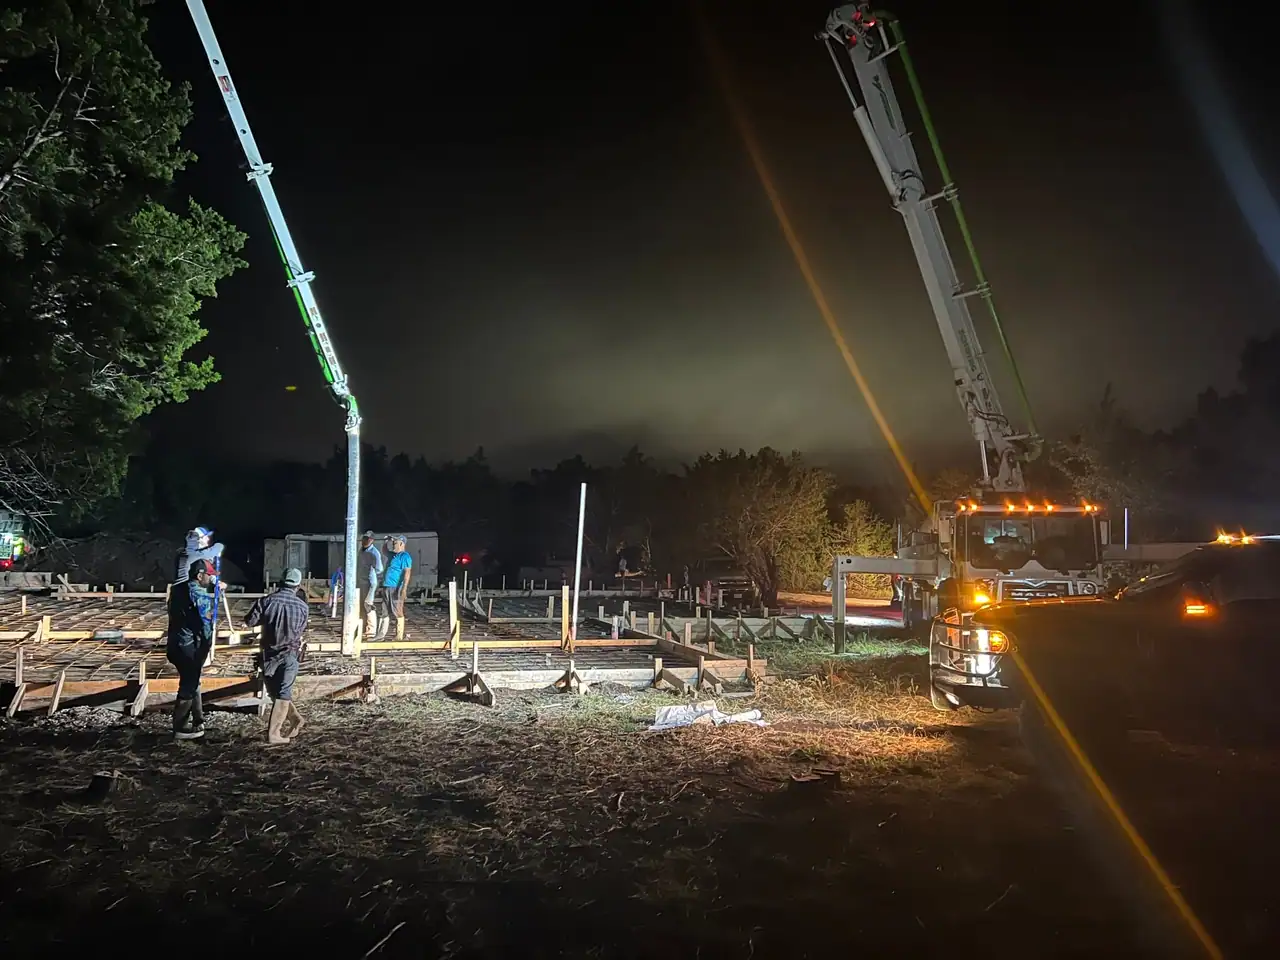
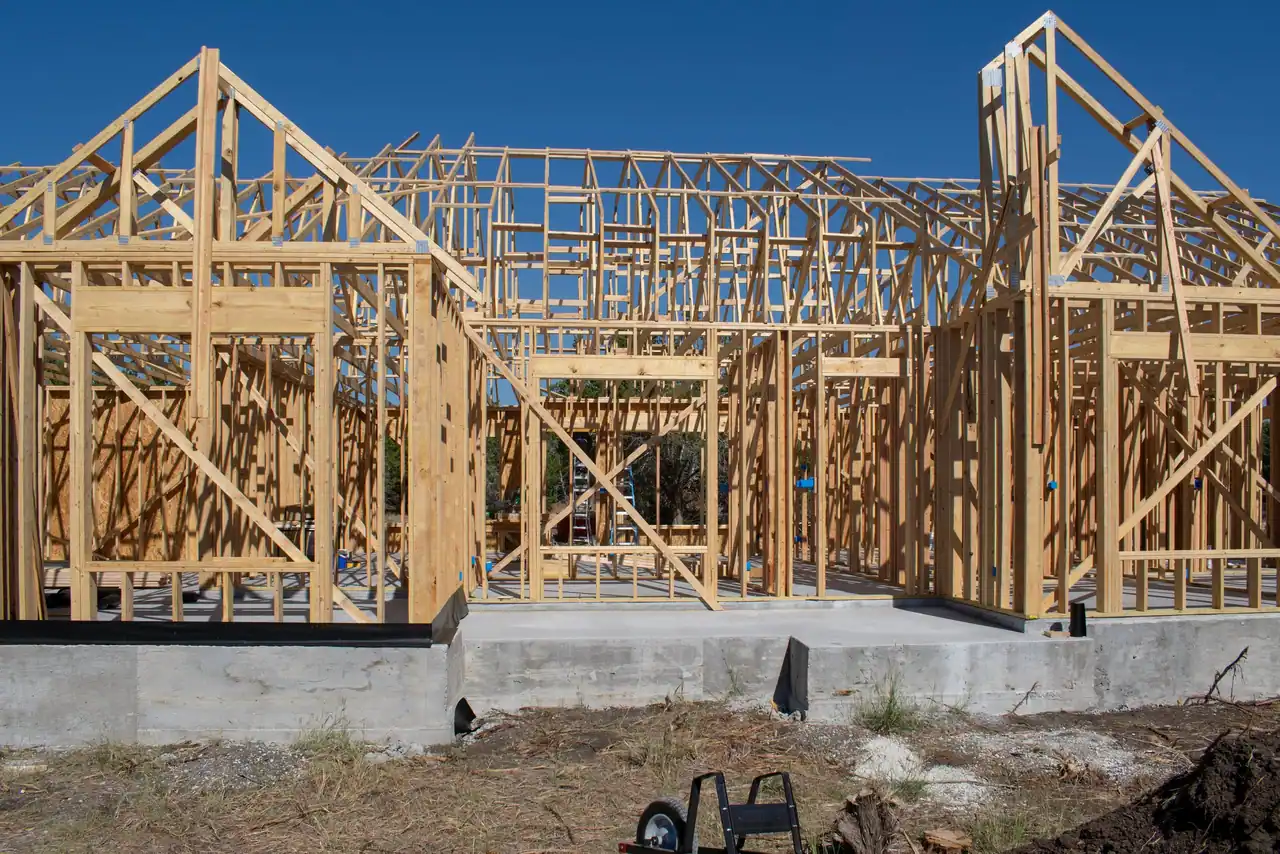
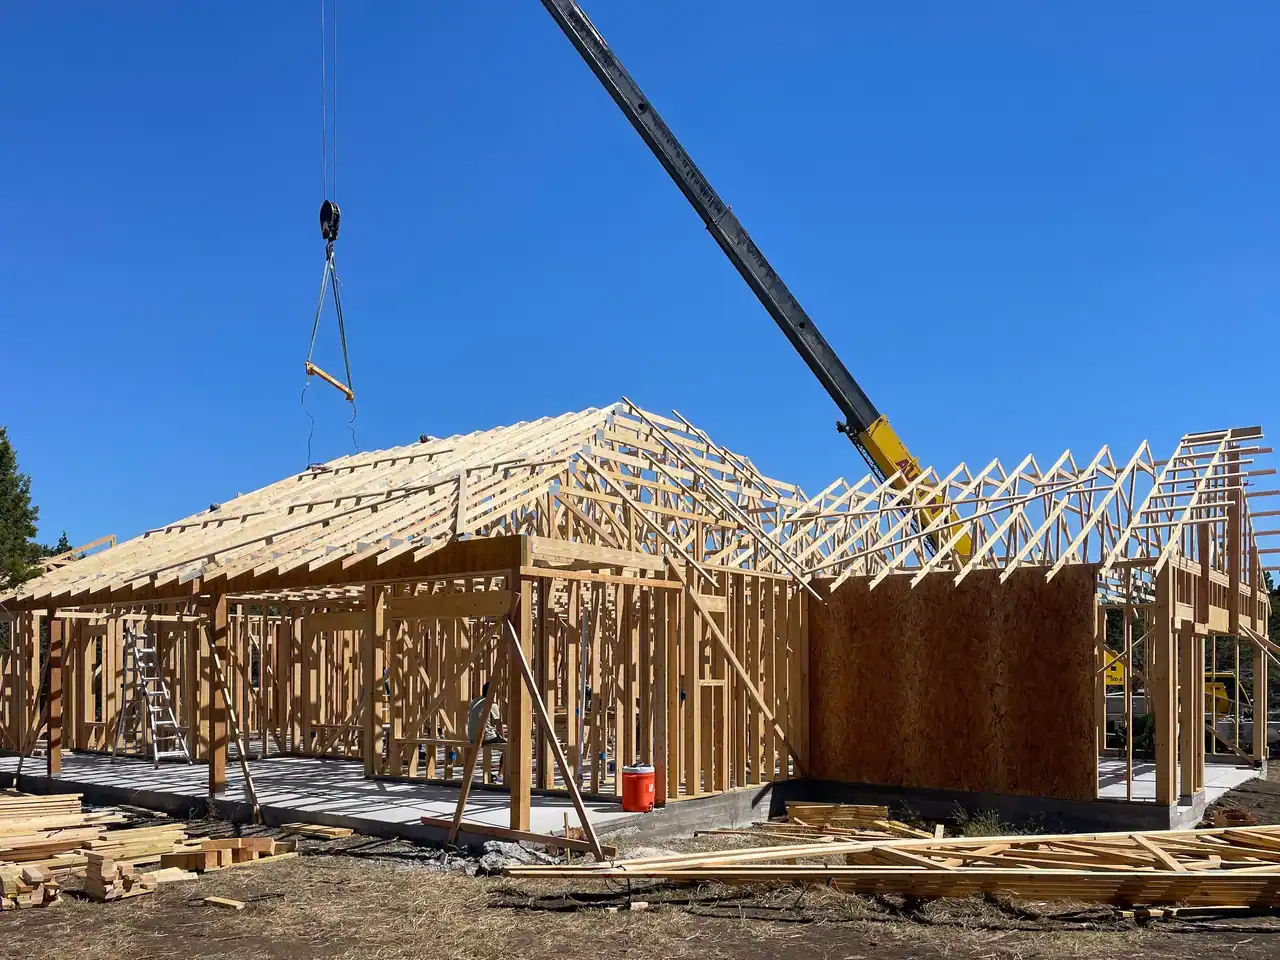
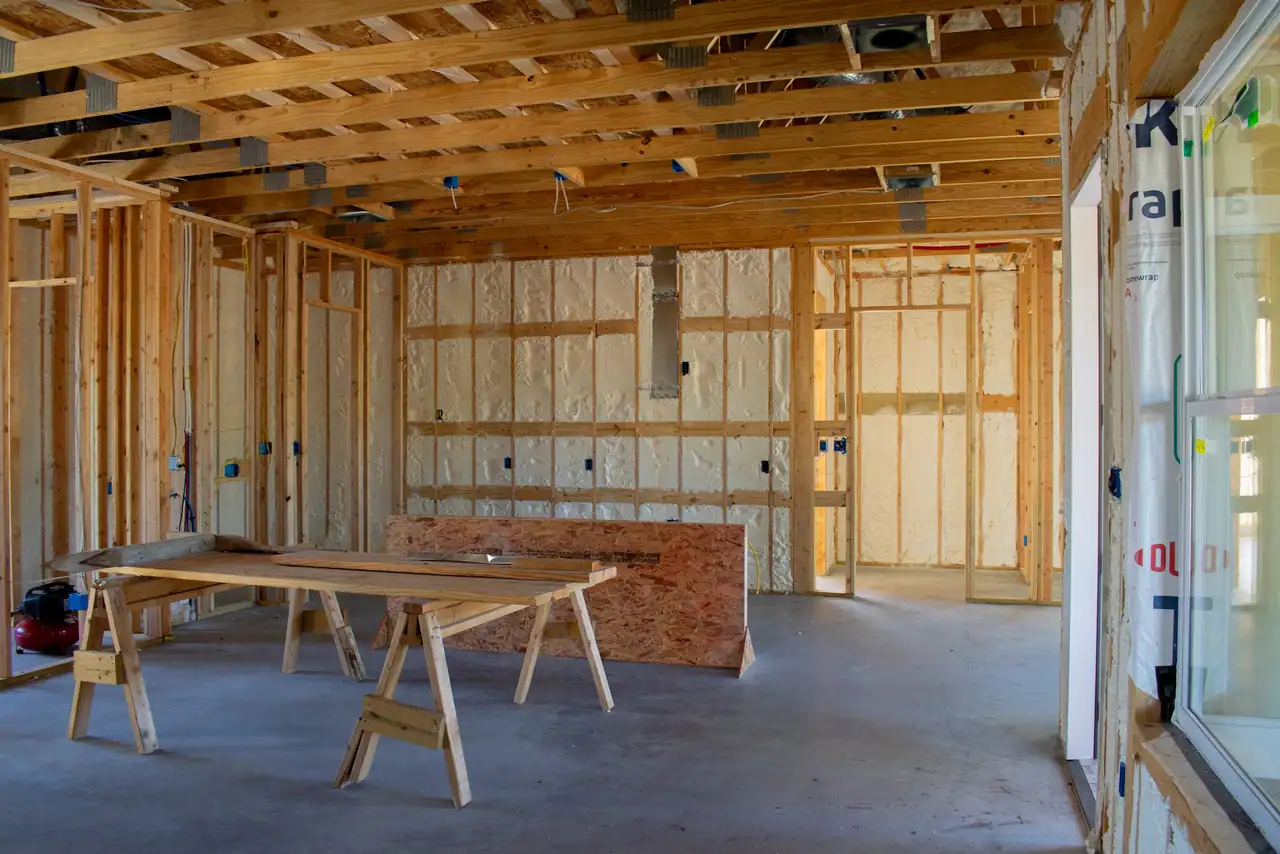
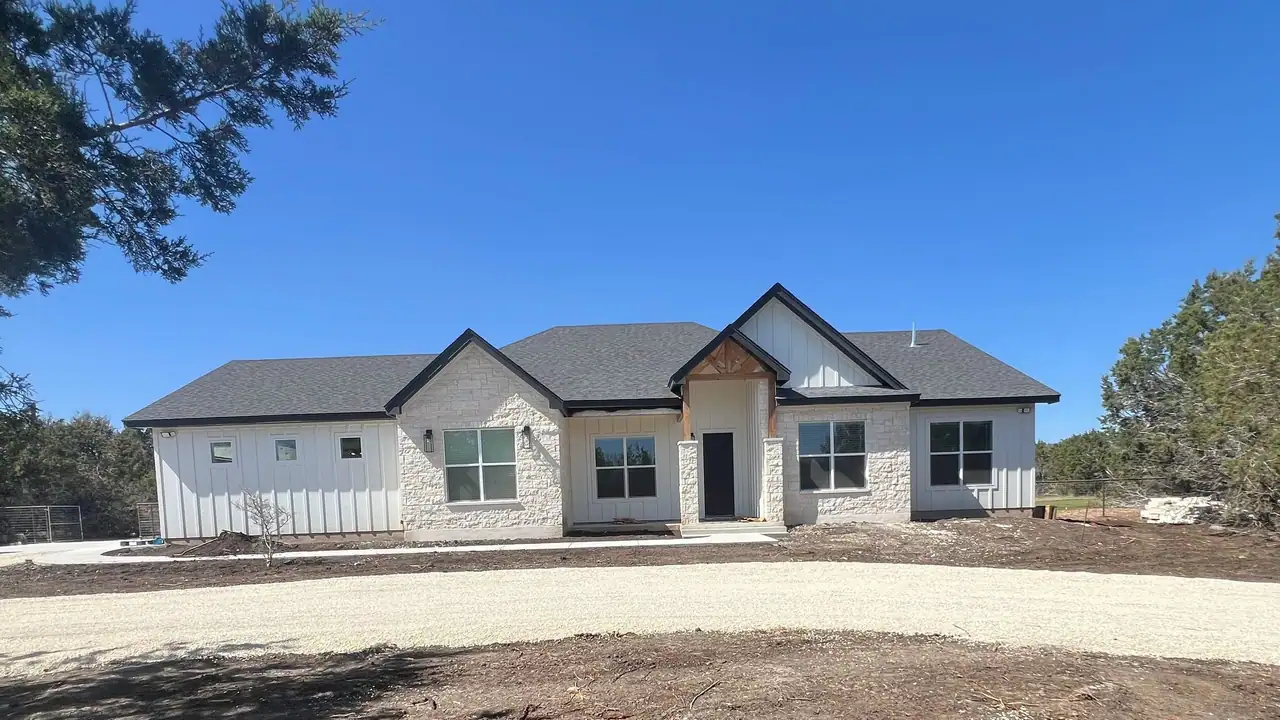
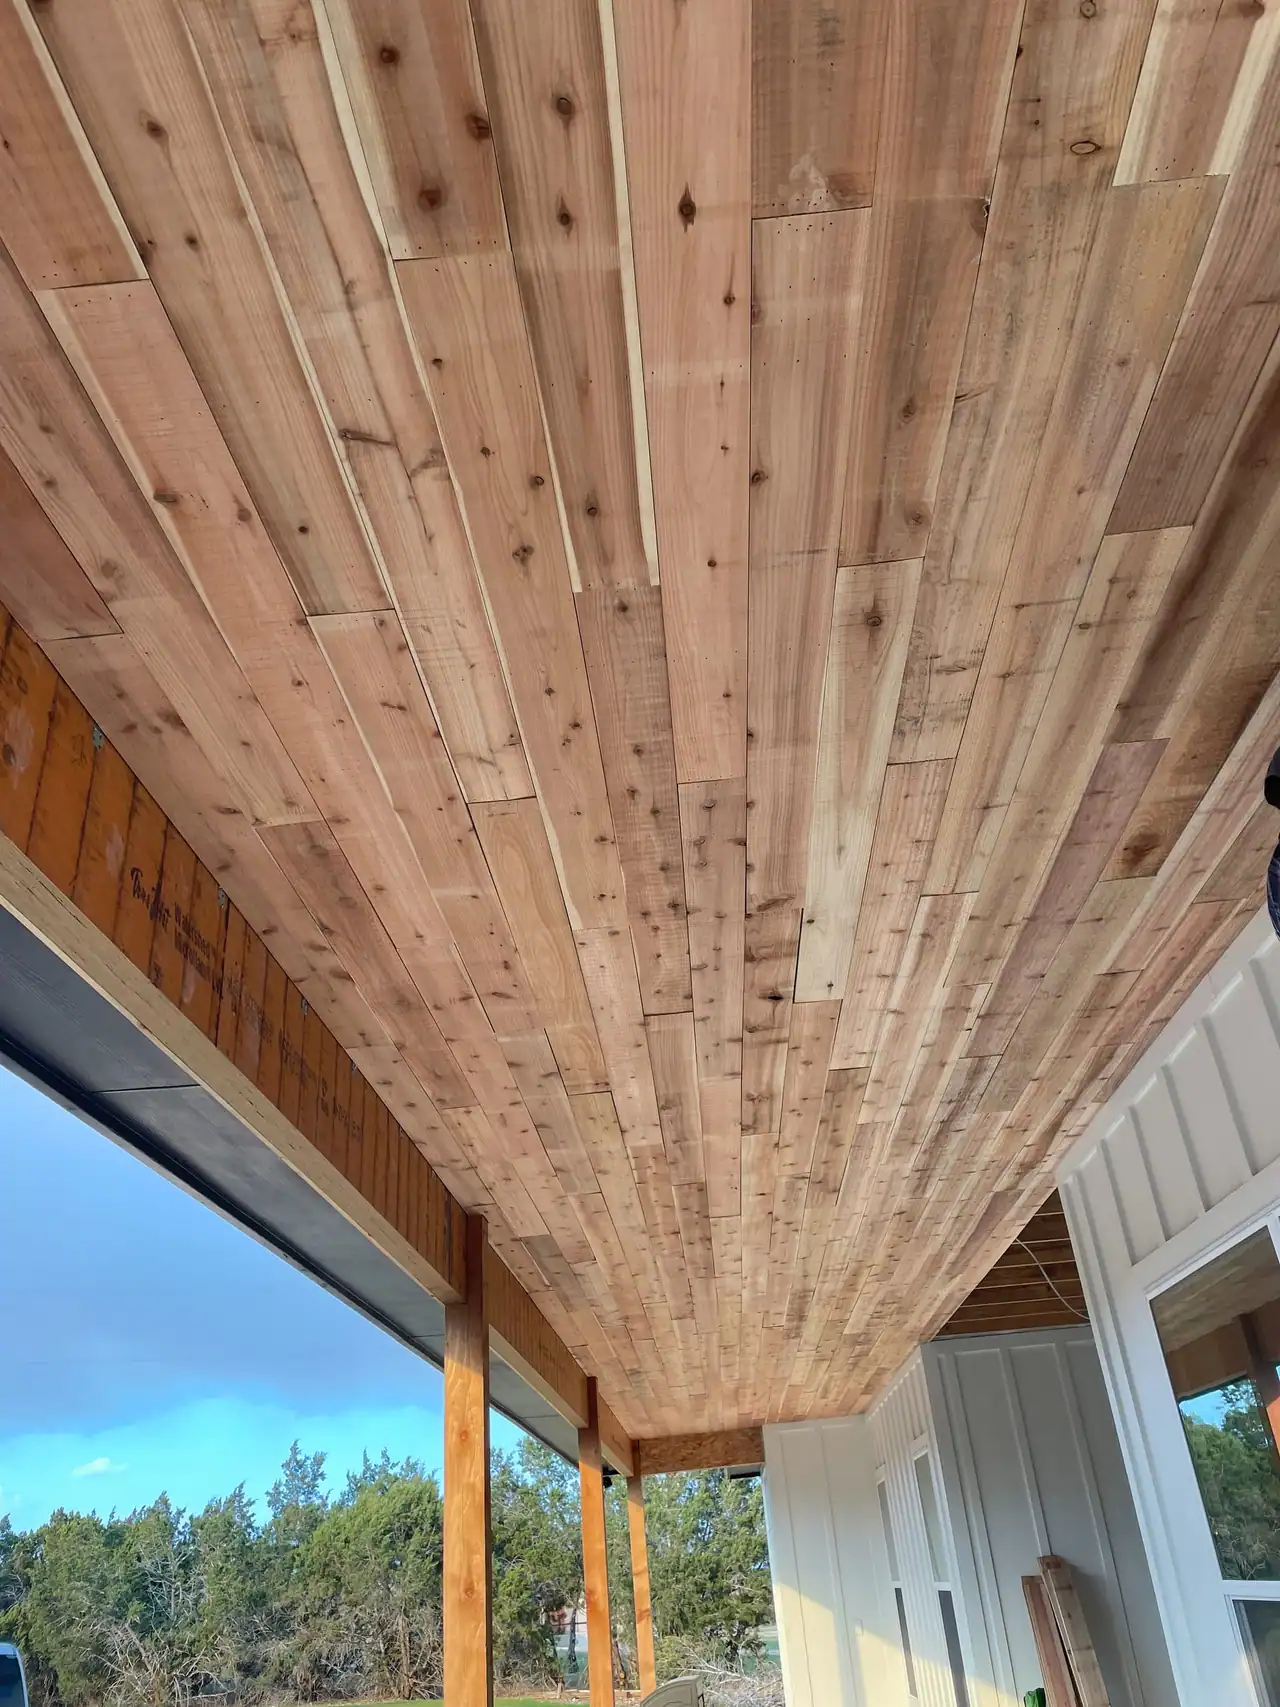
The photos follow the build in order: the slab pour, framing and roof trusses set by crane, insulation before drywall, board-and-batten siding and stone outside, a wood porch ceiling, and the finished kitchen.

Project gallery

How this one came together

The photos show the finish. These are the choices behind it.

Project type
Custom home
Location
Dripping Springs

A new home built from the slab up, photographed at each stage of the build.

01

The slab is where the schedule gets real.

The slab for this home was placed with a pump truck after the forms and beams were set. Everything that runs below the floor has to be in place before concrete, because it cannot be moved afterward.

On a similar project, plumbing locations, sleeves for future utilities, and the floor height relative to finished grade deserve one more review before the pour. A change after that point means cutting concrete or living with the compromise.

02

Framing and trusses turn the plan into rooms.

Walls went up on the slab and the roof trusses were set by crane. Framing is the first time an owner can walk the rooms at real size, which makes it a good moment to confirm window heights, door swings, and the walls furniture will need.

Blocking for cabinets, shelves, mounted screens, grab bars, and fixtures is inexpensive while the studs are open. Writing those needs down before insulation saves patching later.

03

Insulation is the last easy look inside the walls.

Once the walls are insulated and before drywall goes up, wiring, plumbing, and ductwork are still visible. Photos taken at this stage are worth keeping for every wall that will hide something later.

Finishes then took over: board-and-batten siding and stone outside, a wood porch ceiling, and the kitchen inside.

What we learned

Ideas worth carrying into the next property.

  • Check under-slab work against the final floor plan before the pour.
  • Use the framing walkthrough to confirm windows, doors, and furniture walls at real size.
  • Add blocking for cabinets, mounts, and fixtures before insulation.
  • Photograph every wall before drywall.

Make it yours

Borrow the good ideas. Leave the copy-and-paste plans behind.

Your land, routines, budget, and taste will lead to a different answer. Bring us what you have, even if it is just a map pin, a sketch, or a folder of saved photos. Our team will help turn it into a useful next step.

Other projects

More Ridge Rock properties.